How to Replace a Broken Window Pane Easily and Affordably?
Replacing a broken window pane doesn't have to be a daunting task. Many homeowners face this issue, often feeling overwhelmed and unsure where to start. With the right guidance, you can replace broken window pane easily and affordably.
Understanding the materials and tools required is vital. You’ll need glass, putty, and a glazing tool. It's important to measure correctly before you begin. A simple miscalculation can lead to wasted time and additional costs. Mistakes happen; embrace them as part of the learning process.
Safety is paramount when handling glass. Wear gloves and goggles, as sharp edges can be dangerous. Take your time, especially during the installation. Ensuring a solid fit will improve the window's insulation, reducing energy bills. Your efforts will pay off, creating a more comfortable home environment.
Understanding the Basics of Window Pane Replacement
Replacing a broken window pane may seem daunting, but it can be done with some basic knowledge. Start by gathering your tools: safety gloves, a glass cutter, and measuring tape. Measuring the frame accurately is crucial. A wrong measurement could lead to unnecessary frustration. Take your time here; it’s the foundation for a successful replacement.
When choosing the glass, consider its thickness and type. Standard window glass might be suitable, but tempered or laminated glass is more durable. It's worth noting that cutting glass takes practice. If you're inexperienced, you might struggle. Watch tutorials or seek guidance from someone skilled. Mistakes can be costly, both in materials and time.
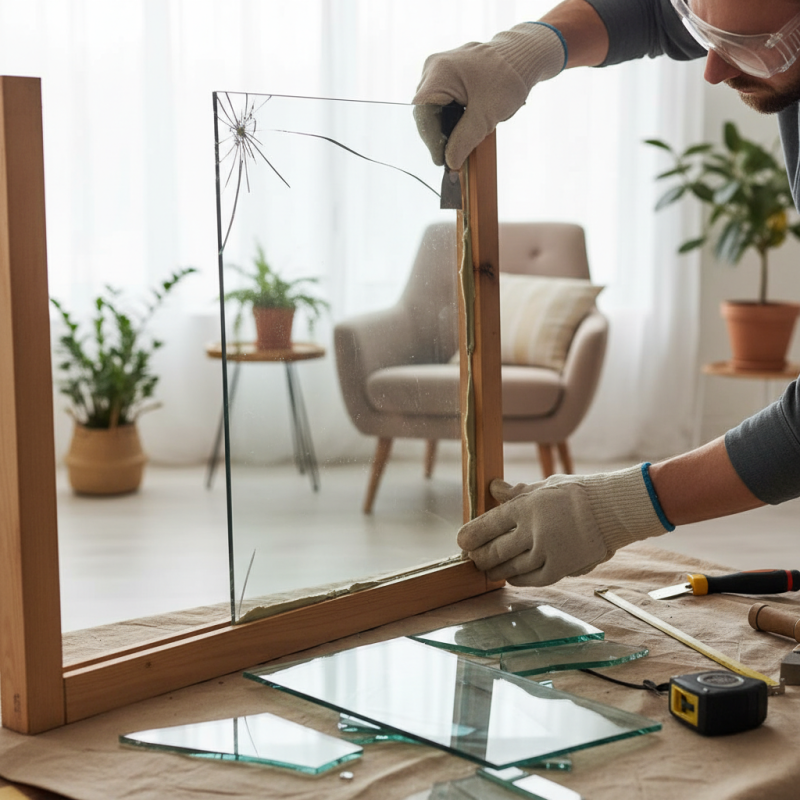
Removing the broken pane requires careful handling. Use a putty knife to scrape away the old putty. Keep an eye on sharp edges; they can easily cause cuts. Once the old glass is gone, ensure the frame is clean. Application of new putty should be even and consistent. A lumpy finish can invite air leaks and moisture issues later. Always remember, it's okay if everything isn't perfect on your first try. Each attempt brings you one step closer to mastering the process.
Gathering Necessary Tools and Materials for the Job
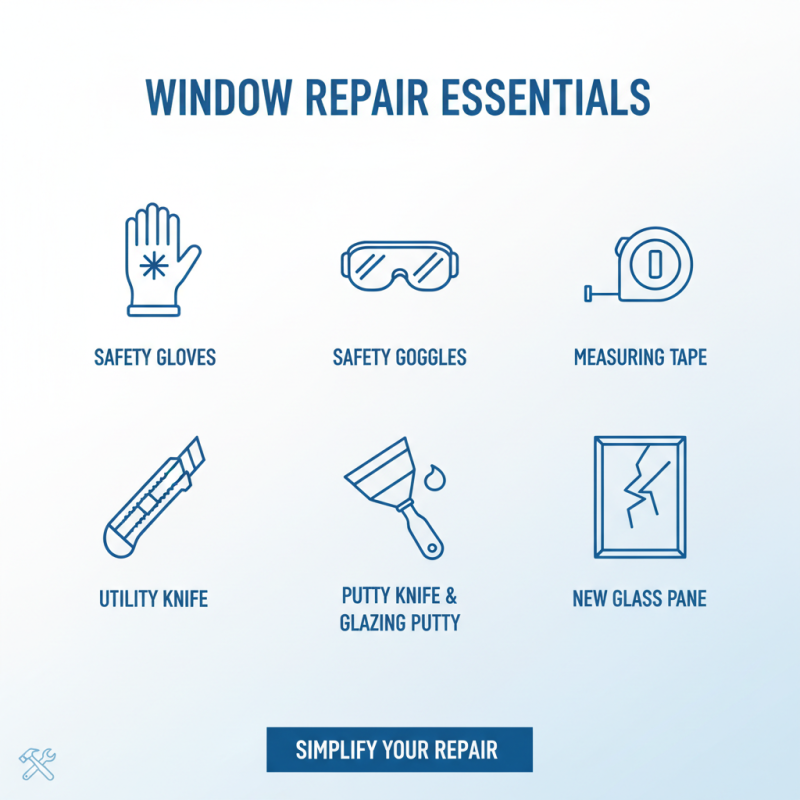
Replacing a broken window pane might seem daunting, but gathering the right tools and materials can simplify this task significantly. First, you'll need to acquire safety gloves, goggles, a measuring tape, and a utility knife. A putty knife, glazing putty, and new glass pane are also essential. According to industry estimates, over 30% of window damages occur due to improper installation or maintenance. Thus, having the right tools is vital.
When preparing for the replacement, measuring your existing window frame accurately is crucial. An incorrect measurement can lead to wasted materials and additional expenses. Always double-check your dimensions. Additionally, wearing safety gear while handling glass reduces the risk of injury. A recent report suggests that injuries from DIY home repairs have been on the rise, emphasizing the need for caution.
Tips: Use a clean cloth to wipe the frame before installation. This ensures the new adhesive bonds well. If you're unsure about the glazing process, consider watching online tutorials. Visual guidance can be incredibly helpful for first-timers. Remember, experience matters; mistakes teach important lessons.
Step-by-Step Guide to Removing the Broken Window Pane
Removing a broken window pane might seem daunting, but it can be managed with the right approach. Start by gathering necessary tools:
safety gloves, a putty knife, and a dust mask.
Safety is crucial. Protect your hands and face, as glass shards can be sharp. Take your time to assess the broken area.
Look for any jagged edges or remaining glass pieces.
Begin by gently removing any loose glass. Use the putty knife to scrape away old putty. It may take some effort. Be patient with this step.
Ensure that you get all fragments out to avoid injuries later. Once the area is clear, clean the frame thoroughly.
This will help the new pane fit better.
You might encounter stubborn putty. In such cases, consider warming it slightly with a heat gun to make removal easier. Dive into this project prepared for little hiccups.
Sometimes, the frame may be damaged, requiring additional repair. Embrace these challenges as part of the process.
With persistence, you can successfully replace your broken window pane.
Installing the New Window Pane: Techniques and Tips
Replacing a broken window pane can seem daunting, but with the right techniques, it becomes manageable. The first step involves ensuring you have the appropriate materials. Industry reports indicate that choosing energy-efficient glass can reduce heating costs by up to 25%. Proper insulation is vital to maintain home temperature and comfort.
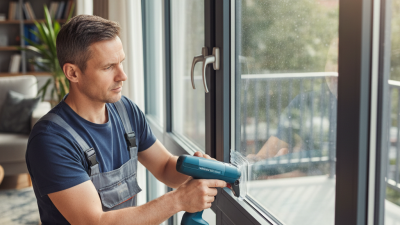
When installing the new window pane, always wear safety gear. Glass shards can be dangerous. Clearing away old putty is essential for a secure fit. A putty knife works best for this task. Also, ensure the frame is squared correctly. This prevents future drafts and minimizes heat loss.
**Tips:** Always measure twice before cutting glass. An error can lead to wasted materials. Consider a friend’s help; working alone increases the risk of mistakes. Lastly, don’t rush the curing process of adhesives. A little patience ensures a better seal and durability. Following these steps can lead to a successful window replacement, enhancing your home's value and efficiency.
Finishing Touches: Sealing and Cleaning for a Polished Look
When replacing a broken window pane, finishing touches are crucial. Sealing properly can prevent drafts and energy loss. According to the U.S. Department of Energy, a well-sealed window can reduce energy costs by up to 15%. Choose a weatherproof caulk that is flexible and durable. This ensures your work lasts, even under fluctuating temperatures.
Cleaning the glass is the next step. Use a glass cleaner that is ammonia-free to avoid streaks. Vinegar mixed with water works well too. Combine equal parts vinegar and water, then gently wipe the surface. Remember, the cleaner the glass, the better the view.
Tips for optimal results: Apply caulk on a dry day to maximize adhesion. When cleaning, use microfiber cloths; they minimize scratches. Don’t rush the sealing process. Take your time to check for gaps, as they may lead to future problems. This meticulous attention to detail will result in a polished look that enhances your home.
Window Pane Replacement Cost Analysis